Catalog
Build and manage custom ticket forms with tailored fields for every type of request your organization handles.
Created March 27, 2026
Overview
The Catalog is a form builder for tickets. Admins and end users can create custom ticket types, each with their own set of fields to match the specific information needed for different kinds of requests. Whether it is an IT support request, an HR inquiry, or a bug report, the Catalog lets you design a tailored submission experience for each one.
Custom fields ensure the right information is collected upfront, reducing back-and-forth and helping your team resolve tickets faster. Each catalog item acts as a template that requesters fill out when opening a new ticket of that type.
Creating Categories 
Categories group related catalog items together, making it easier for requesters to find the right ticket type. Each category has a Name, a Description, and an Icon to help users quickly identify it in the list.
- Open the Catalog page and select the add icon beside Creating Categories to start a new category.
- Enter a short, requester-friendly Name, such as IT Support, HR Requests, Facilities, or Billing.
- Add a clear Description that explains what types of requests belong in the category. This helps requesters choose the right path before they submit a ticket.
- Choose an Icon that visually matches the category. Icons appear in the catalog list and make categories easier to scan.
- Save the category, then create or move catalog items into it so related request forms stay grouped together.
Keep categories broad enough to hold multiple request types. For example, create one IT Support category, then add catalog items such as Password Reset, Hardware Request, Software Access, and Network Issue under it.
Creating a Catalog Item 
- Fill in the item's Name, Description, and the Category it belongs to
- Set the Status — Publish it immediately to make it available to requesters, save it as a Draft to continue working on it later, or Archive it to remove it from the active catalog without deleting it permanently
- Once finished, click Create & Continue:

- To begin adding custom fields, navigate to Custom Fields:

- Select Add Field
 and choose from a variety of input types: Text Input, Text Area, Dropdown, Department, Checkbox, Number, Date, Email, URL, Phone, or File Upload
 - Preview what the field will look like using the Preview Tab:

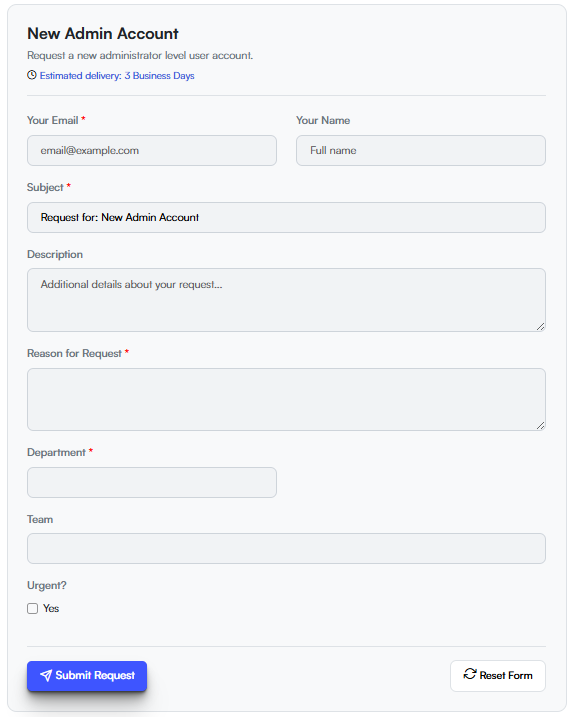
Note: Some fields exist by default, including Email, Full Name, Subject, and Description.
Default:
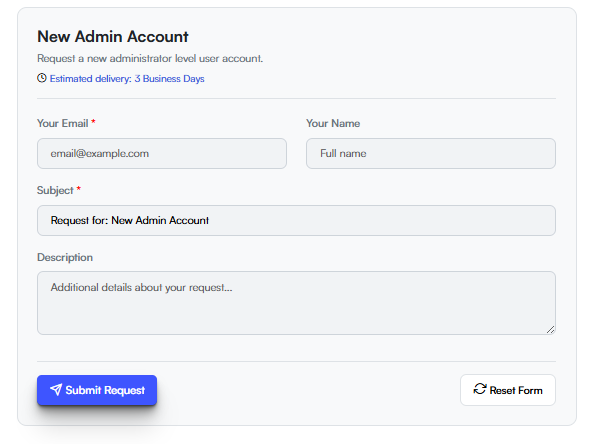
Custom: